When it comes to capturing the essence of hair on paper, the process may seem intimidating at first glance. However, by incorporating subtle techniques and understanding the intricacies of hair textures, you can elevate your drawings to a new level of realism. From the initial sketch outlining the hair's shape to the final touches that bring it to life, each step plays a vital role in achieving a lifelike representation. But how exactly do you tackle these nuances and master the art of drawing hair? Let's explore the key elements that will transform your approach and elevate your artistic skills.
Key Takeaways
- Use varied strokes for texture and flow.
- Consider light direction for shadow placement.
- Add shadows for depth and dimension.
- Blend highlights for a natural look.
- Study different hair types for accuracy.
Understanding Hair Texture

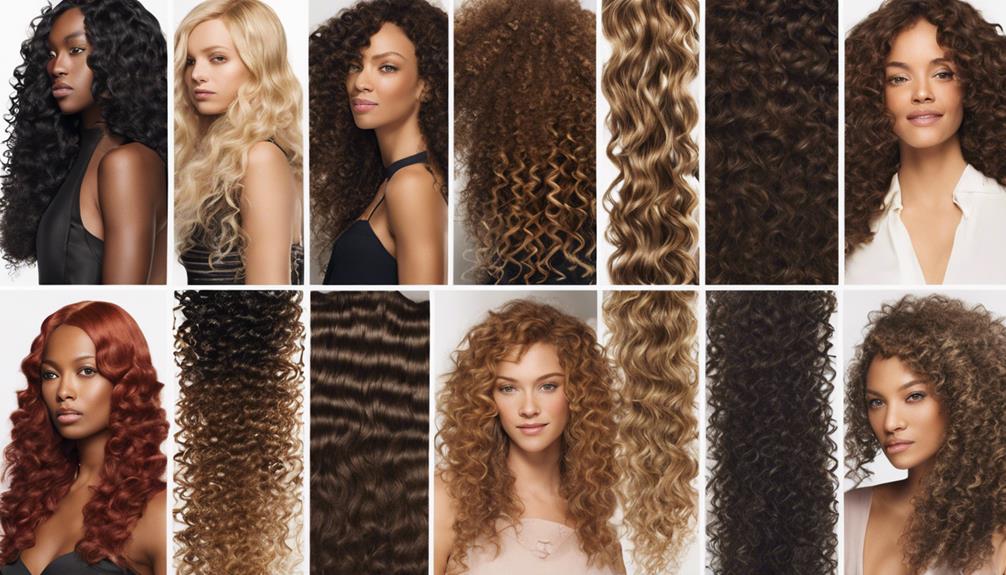
To draw hair realistically, you must first understand the importance of recognizing different textures in hair. Hair can be smooth, curly, wavy, or coarse, and each texture requires a unique approach to capture its essence accurately.
Smooth hair reflects light more evenly, creating a shiny appearance. On the other hand, curly hair has more volume and tends to cast shadows, giving it a textured look.
Wavy hair falls between smooth and curly, with gentle bends that catch light in a distinctive way. Coarse hair is thicker and may have a rougher texture, requiring attention to detail to convey its ruggedness.
Basic Hair Drawing Techniques
Explore various techniques for drawing hair to enhance your artistic skills and create more realistic and detailed hair textures.
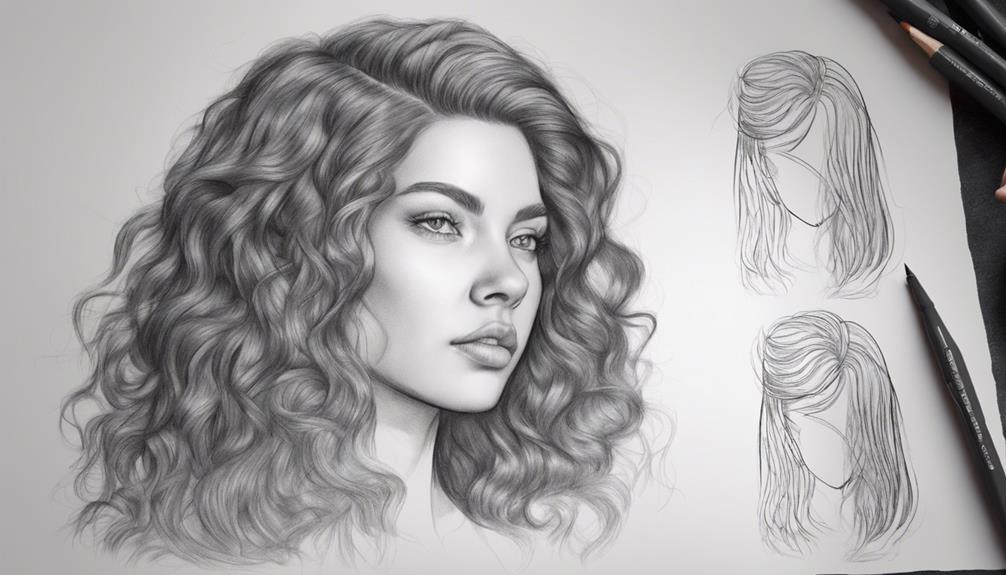
Start by using light, wispy strokes to sketch out the overall shape and flow of the hair. This initial outline will serve as a guide for adding more intricate details later on.
For straight hair, try drawing smooth, straight lines to capture the sleekness of the strands. To add volume and dimension, vary the thickness of your lines and consider layering them to create depth.
For curly or wavy hair, use a more erratic and flowing line technique to mimic the natural movement and texture of the hair.
Experiment with different shading techniques to create highlights and shadows, giving your hair more depth and realism. Cross-hatching can be effective for adding texture, while blending with a blending stump can help achieve smoother shifts between light and dark areas.
Remember to observe real-life hair textures and study how light interacts with different types of hair to improve your drawing skills and create more lifelike hair illustrations.
Adding Dimension With Shadows

Enhance your hair drawings by incorporating shadows to add depth and dimension to your illustrations. Shadows play an important role in creating a realistic and three-dimensional look in your hair drawings.
When adding shadows, consider the direction of the light source to determine where shadows fall. This will help you create a more natural and believable appearance.
Start by identifying the areas where shadows would naturally form, such as underneath strands of hair or where one section overlaps another. Use varying pressure and shading techniques to differentiate between light and shadowed areas. Smooth changes between light and shadow will contribute to a more realistic depiction of the hair's texture and volume.
Experiment with different shading tools like pencils, charcoals, or markers to achieve the desired effect. Remember to blend the shadows seamlessly with the rest of the hair to avoid harsh lines.
Creating Realistic Highlights
When aiming to create realistic highlights in your hair drawings, focus on strategically placing lighter tones to mimic light reflection and add shine to the strands.
To achieve this effect successfully, consider the following tips:
- Use a sharp pencil: Sharpen your pencil to create fine lines for the highlights, ensuring precision in their placement.
- Blend with care: Blend the lighter tones gently with the base color to avoid abrupt changes and achieve a natural look.
- Observe light source: Pay attention to the direction of light in your drawing to determine where highlights should be more prominent.
- Experiment with pressure: Vary the pressure applied to the pencil to create different intensities of highlights, adding depth to your hair illustration.
Mastering Different Hairstyles

To excel in drawing various hairstyles, consider studying the distinct characteristics and textures of different hair types for a more thorough understanding of how to depict them accurately.
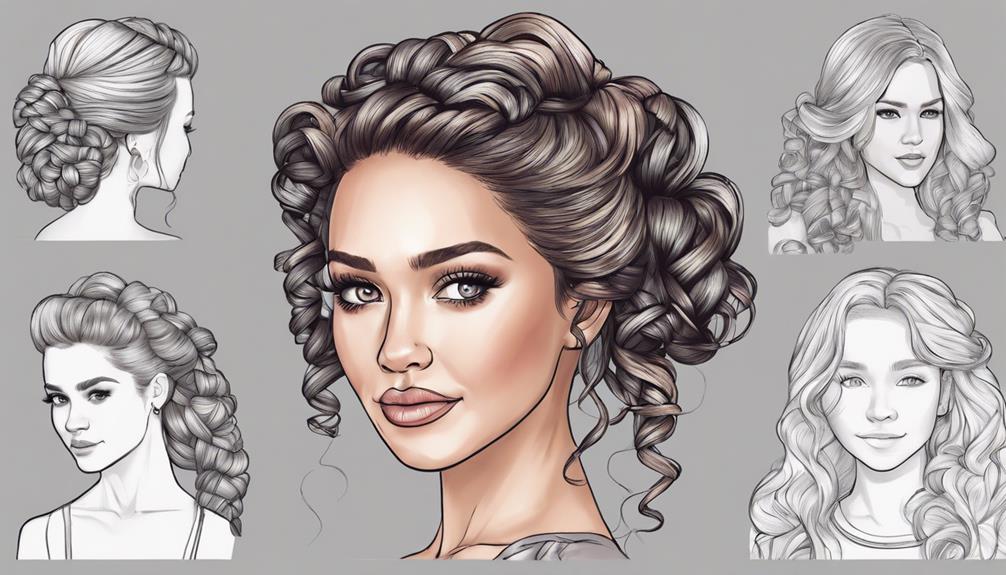
Start by observing the way light interacts with straight hair, creating a sleek and shiny appearance. For curly hair, focus on capturing the natural volume and springiness of the curls. Pay attention to the direction of the strands and the way they clump together in different styles, from pixie cuts to intricate updos.
Experiment with drawing different lengths of hair to master the flow and movement unique to each style. Short hair may require sharper, more defined lines, while long hair can be depicted with flowing and cascading strands.
Practice drawing braids, ponytails, buns, and other common hairstyles to enhance your versatility as an artist.
Using Reference Photos Effectively
For effective utilization, carefully select reference photos that clearly showcase the desired hair texture and style for your drawing.
When using reference photos to draw hair, keep the following tips in mind:
- Choose high-resolution images to capture intricate details.
- Look for photos taken in good lighting to highlight shadows and highlights accurately.
- Find pictures that feature the hair from various angles to understand its structure better.
- Consider using multiple reference photos to create a unique hairstyle that combines different elements.
Finishing Touches and Detailing

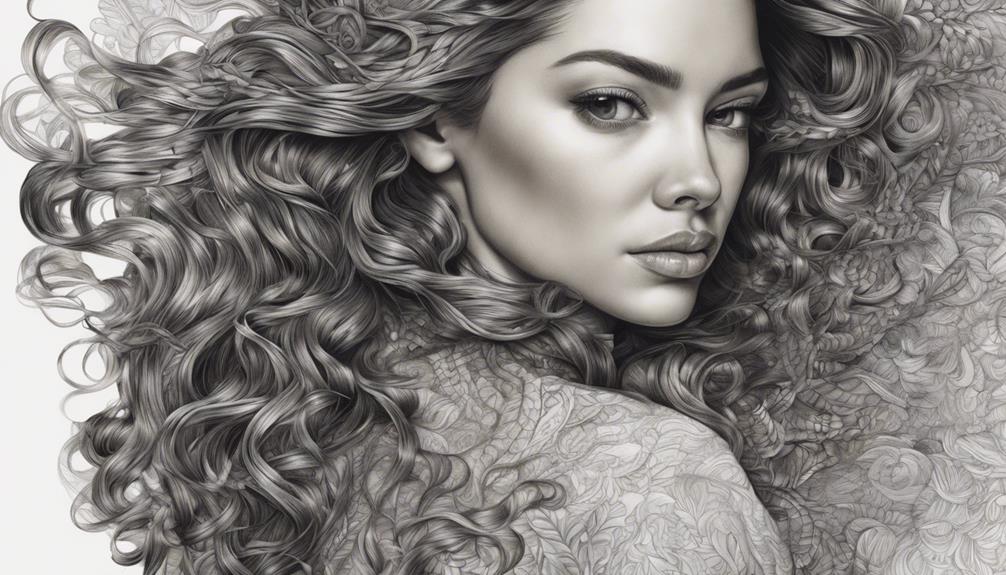
Add the final touches and intricate details to your hair drawing to bring it to life and enhance its realism. To make your hair drawing stand out, focus on adding depth, texture, and dimension. Consider the direction of the hair strands, the play of light and shadows, and any unique characteristics of the hairstyle you are depicting. Here are some key techniques to help you refine your hair drawing:
| Techniques | Examples |
|---|---|
| Highlighting and shading | Adding highlights to reflect light and shadows to create depth. |
| Individual strands | Drawing individual strands of hair to add texture and realism. |
| Flyaway hairs | Including flyaway hairs to make the hair look more natural and dynamic. |
| Hairline details | Paying attention to the hairline and roots for a polished look. |
Conclusion
Now that you've learned the basics of drawing hair, practice and observation are key to mastering different textures and styles. Experiment with shading, highlights, and various techniques to bring your hair drawings to life.
Don't be afraid to use reference photos for inspiration and keep refining your skills. With patience and dedication, you'll soon be able to capture the beauty and complexity of hair in your artwork.
Keep drawing and enjoy the process!